To adjust the cycles (how often the relay in controlled), open the Central thermostat and remove the back plate. Check the picture below on DIP-switch positions.
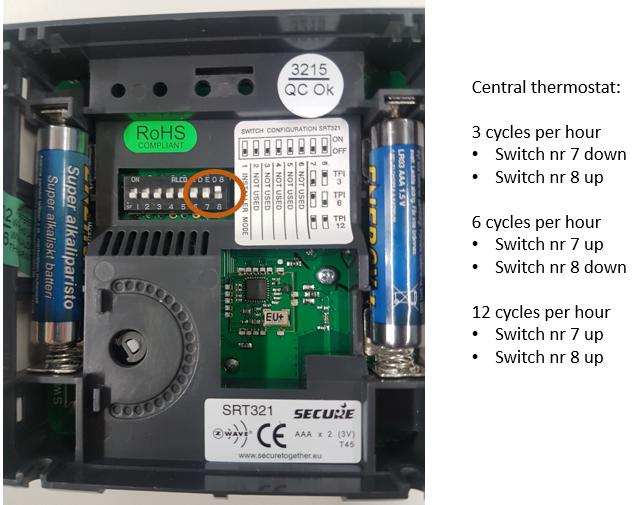
To adjust the cycles (how often the relay in controlled), open the Central thermostat and remove the back plate. Check the picture below on DIP-switch positions.
Check:
*After gateway installation, did you get notification, that installation was successful
*Was the gateway led blue after installation (continuously)
*Have you changed internet router password lately
*Is your internet router using channels 1-9 (=supported channels)
*Is your internet router using frequency 2.4GHz or 5Ghz (2.4GHz is supported)
Actions, in case internet router password on gateway was incorrect / you have changed internet router:
*Unplug the gateway, push the button and keep it pushed, plug the gateway, release the button after couple of seconds
*The led is turned off, gateway network configuration is cleared
*Install the gateway again =>Led turns blue
*Continue installing other components
Action, other cases
*Check home router configuration
In case you have changed internet router and reset the gateway settings according to instructions above, please return to section 2.A.
Arrow down: temperature down
Arrow up: temperature up
Install:
NOTE: Thermostat can be installed only when M-figure is blinking on the screen
The first 1-7 days after installation the Living connect® Z is in a learning period where it will optimize the heat control of the room.
When voltage is getting low, the user interface will start blinking, indicating battery change. Standard AA-batteries are used.
NOTE: When changing batteries, pay attention on correct battery direction in chamber.
If you press accidentally the Install button, you will see a M-figure. Wait for some time and thermostat will regain normal operation.
For full instructions, check our website: Manuals from manufacturers

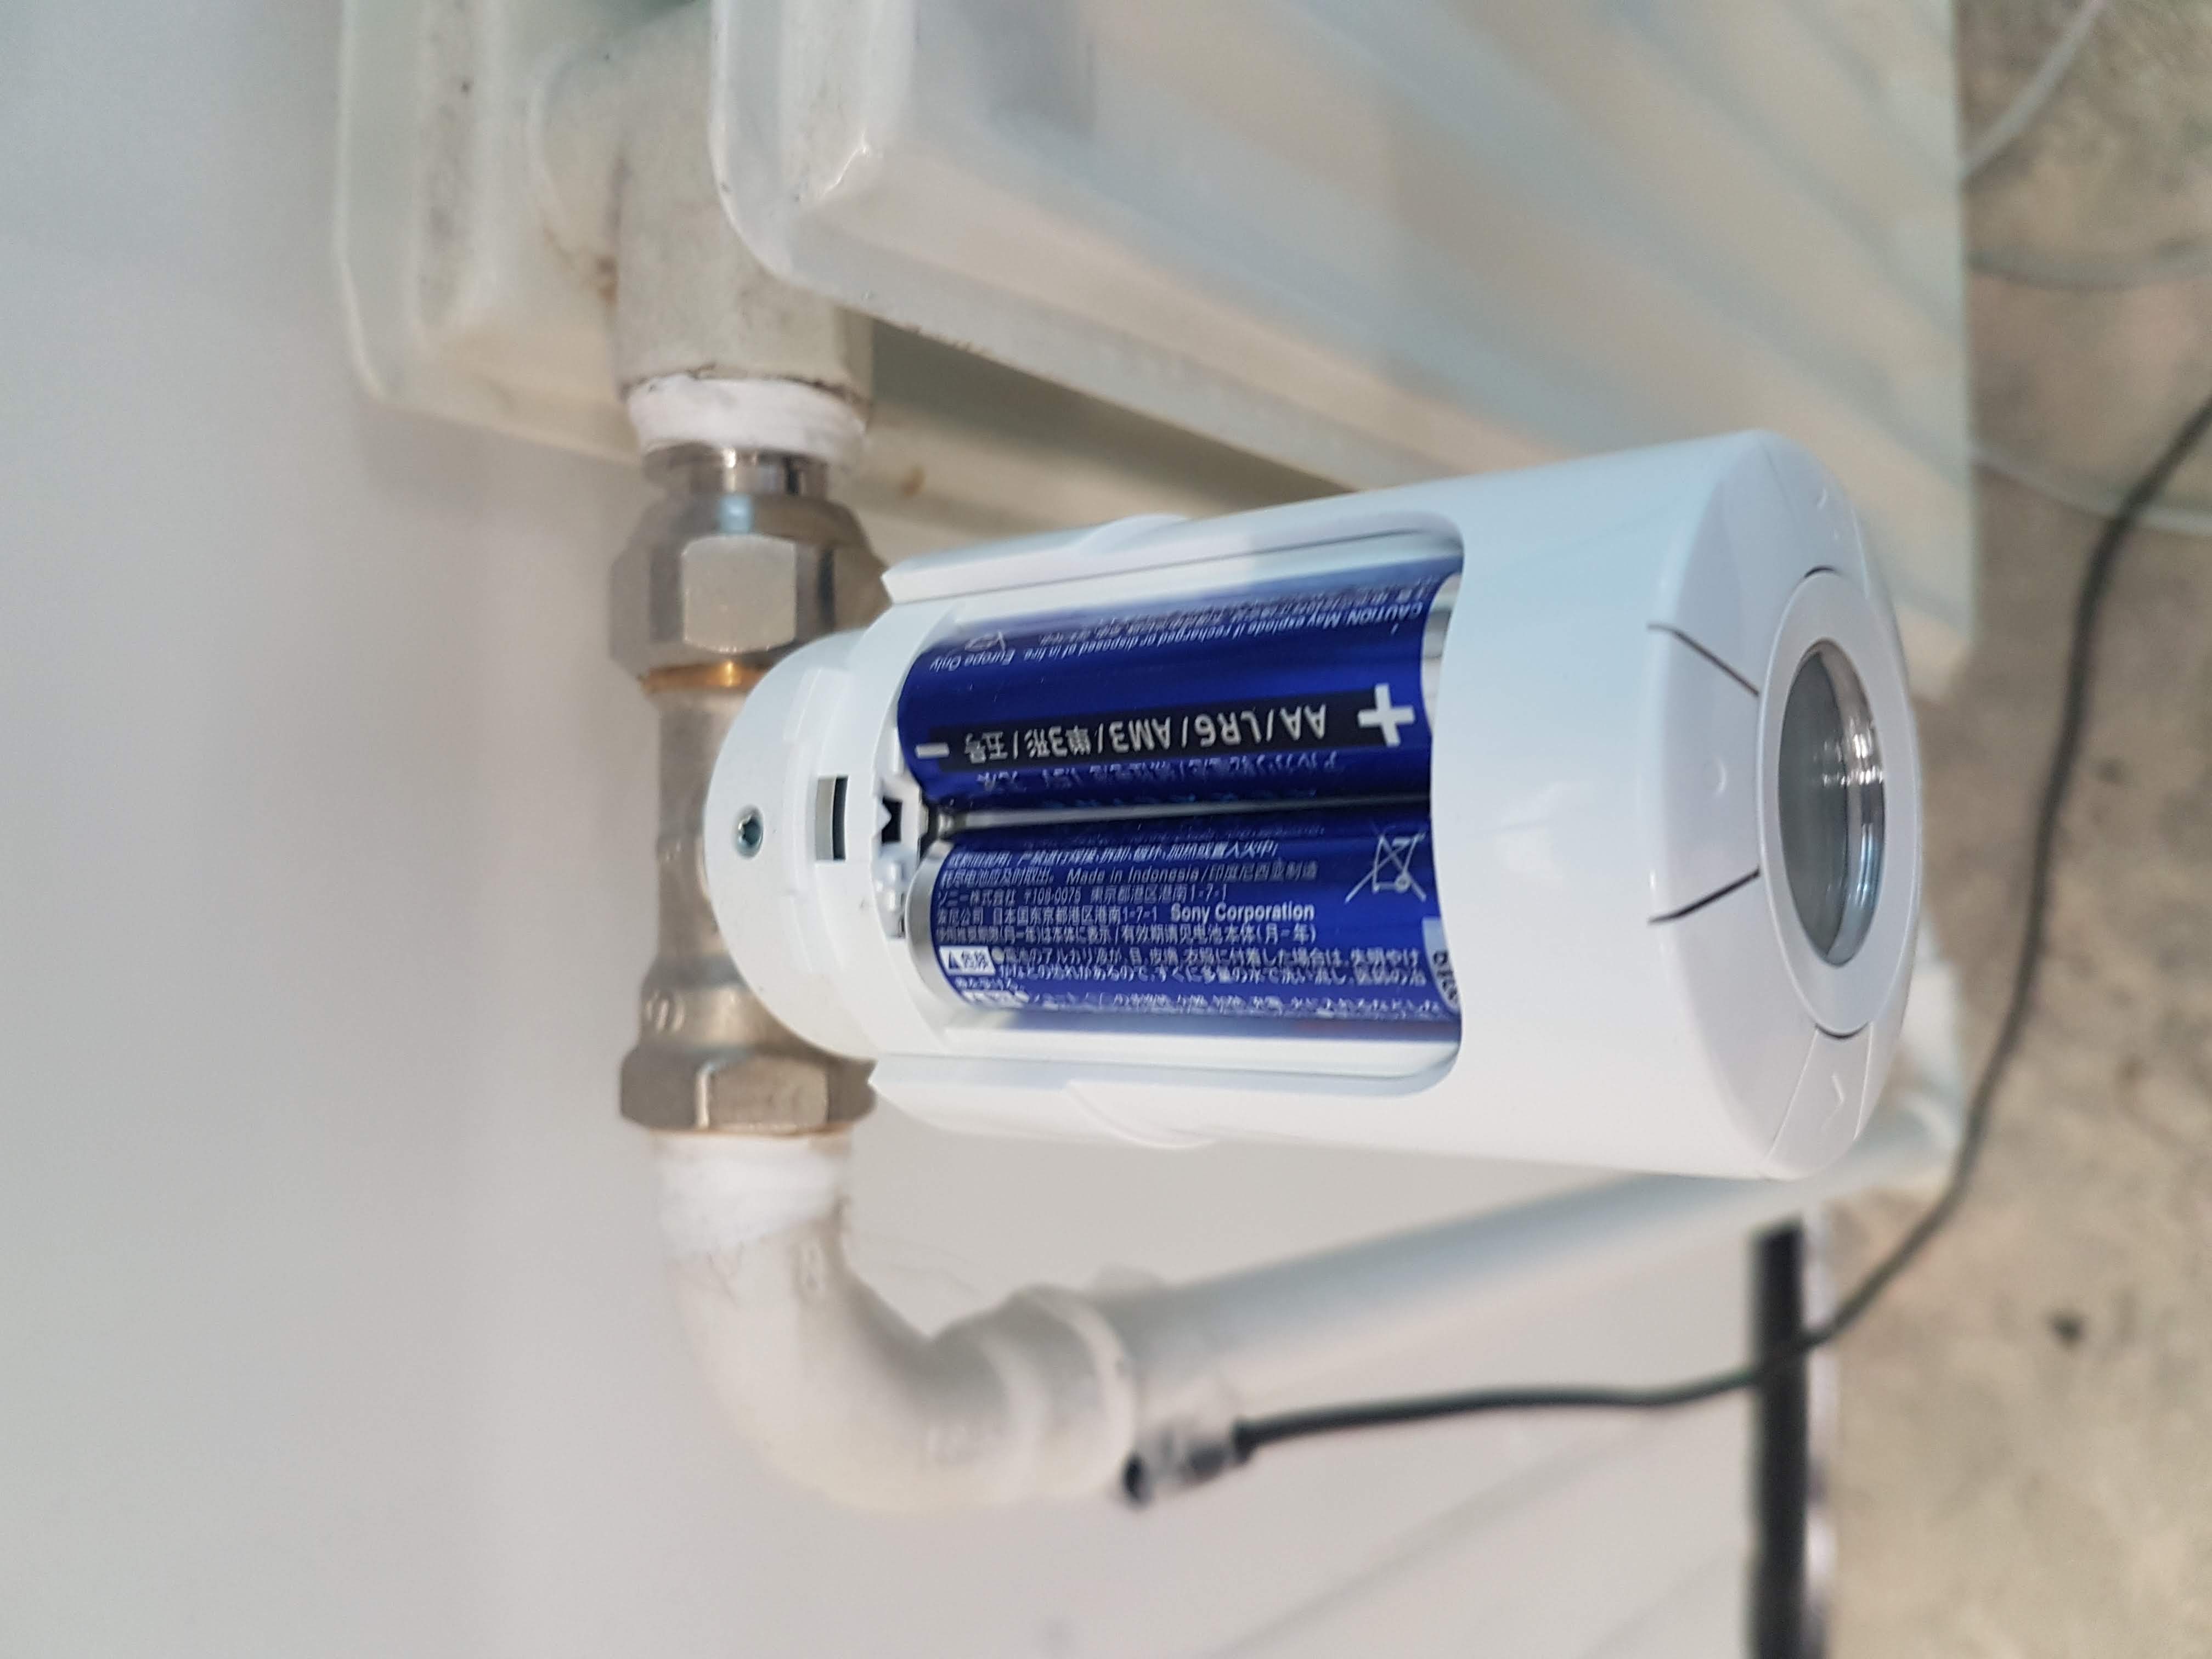
Changing batteries
Turn thermostat carefully to have the battery chamber pointing upwards. Remove the battery chamber lid.
Remove old batteries and insert new ones. Note the battery direction (see pictures below).
Turn the thermostat in right direction.
LED indicator on gateway provides information about different modes of operation. Patterns that can be observed are:
LED solid patterns:
LED blinking patterns:
In problem situation re-start gateway. If the problem persists, contact support
It depends on where it is located (distance from router), and how often it will be waken up. Based on manufacturer information the battery under normal usage should last 1 year.
During the installation process, you will find detailed instructions for each step of the installation.
You can fasten the Door / Window Switch and its magnet piece with the supplied screws or double-sided adhesive tape. Note the mark on the side of the sensor for the magnetic piece. The magnet should be 2-4 mm from the sensor when the door / window is closed.
Test the function: The LED flashes when you open the door / window.
The Smartplug is a smart device that will let you to turn on and off the power of your connected devices. In addition you can see the power consumption of the device connected.
For more information kindly read our instructions.
If the LED flashes in the Smart Plug, it is not connected to the router.
Refer to the instructions for connecting / pairing components to the router / network.