Arrow down: temperature down
Arrow up: temperature up
Install:
NOTE: Thermostat can be installed only when M-figure is blinking on the screen
- Long press (~4-5 sec => M-figure in display), short press (first screen goes black, then blinking M-figure)
- => piston is pulled in and thermostat can be installed
- Once installed, Long press (~4-5 sec) => thermostat measures valve min/max positions, after couple of seconds temperature value is visible
- Thermostat is in operation
The first 1-7 days after installation the Living connect® Z is in a learning period where it will optimize the heat control of the room.
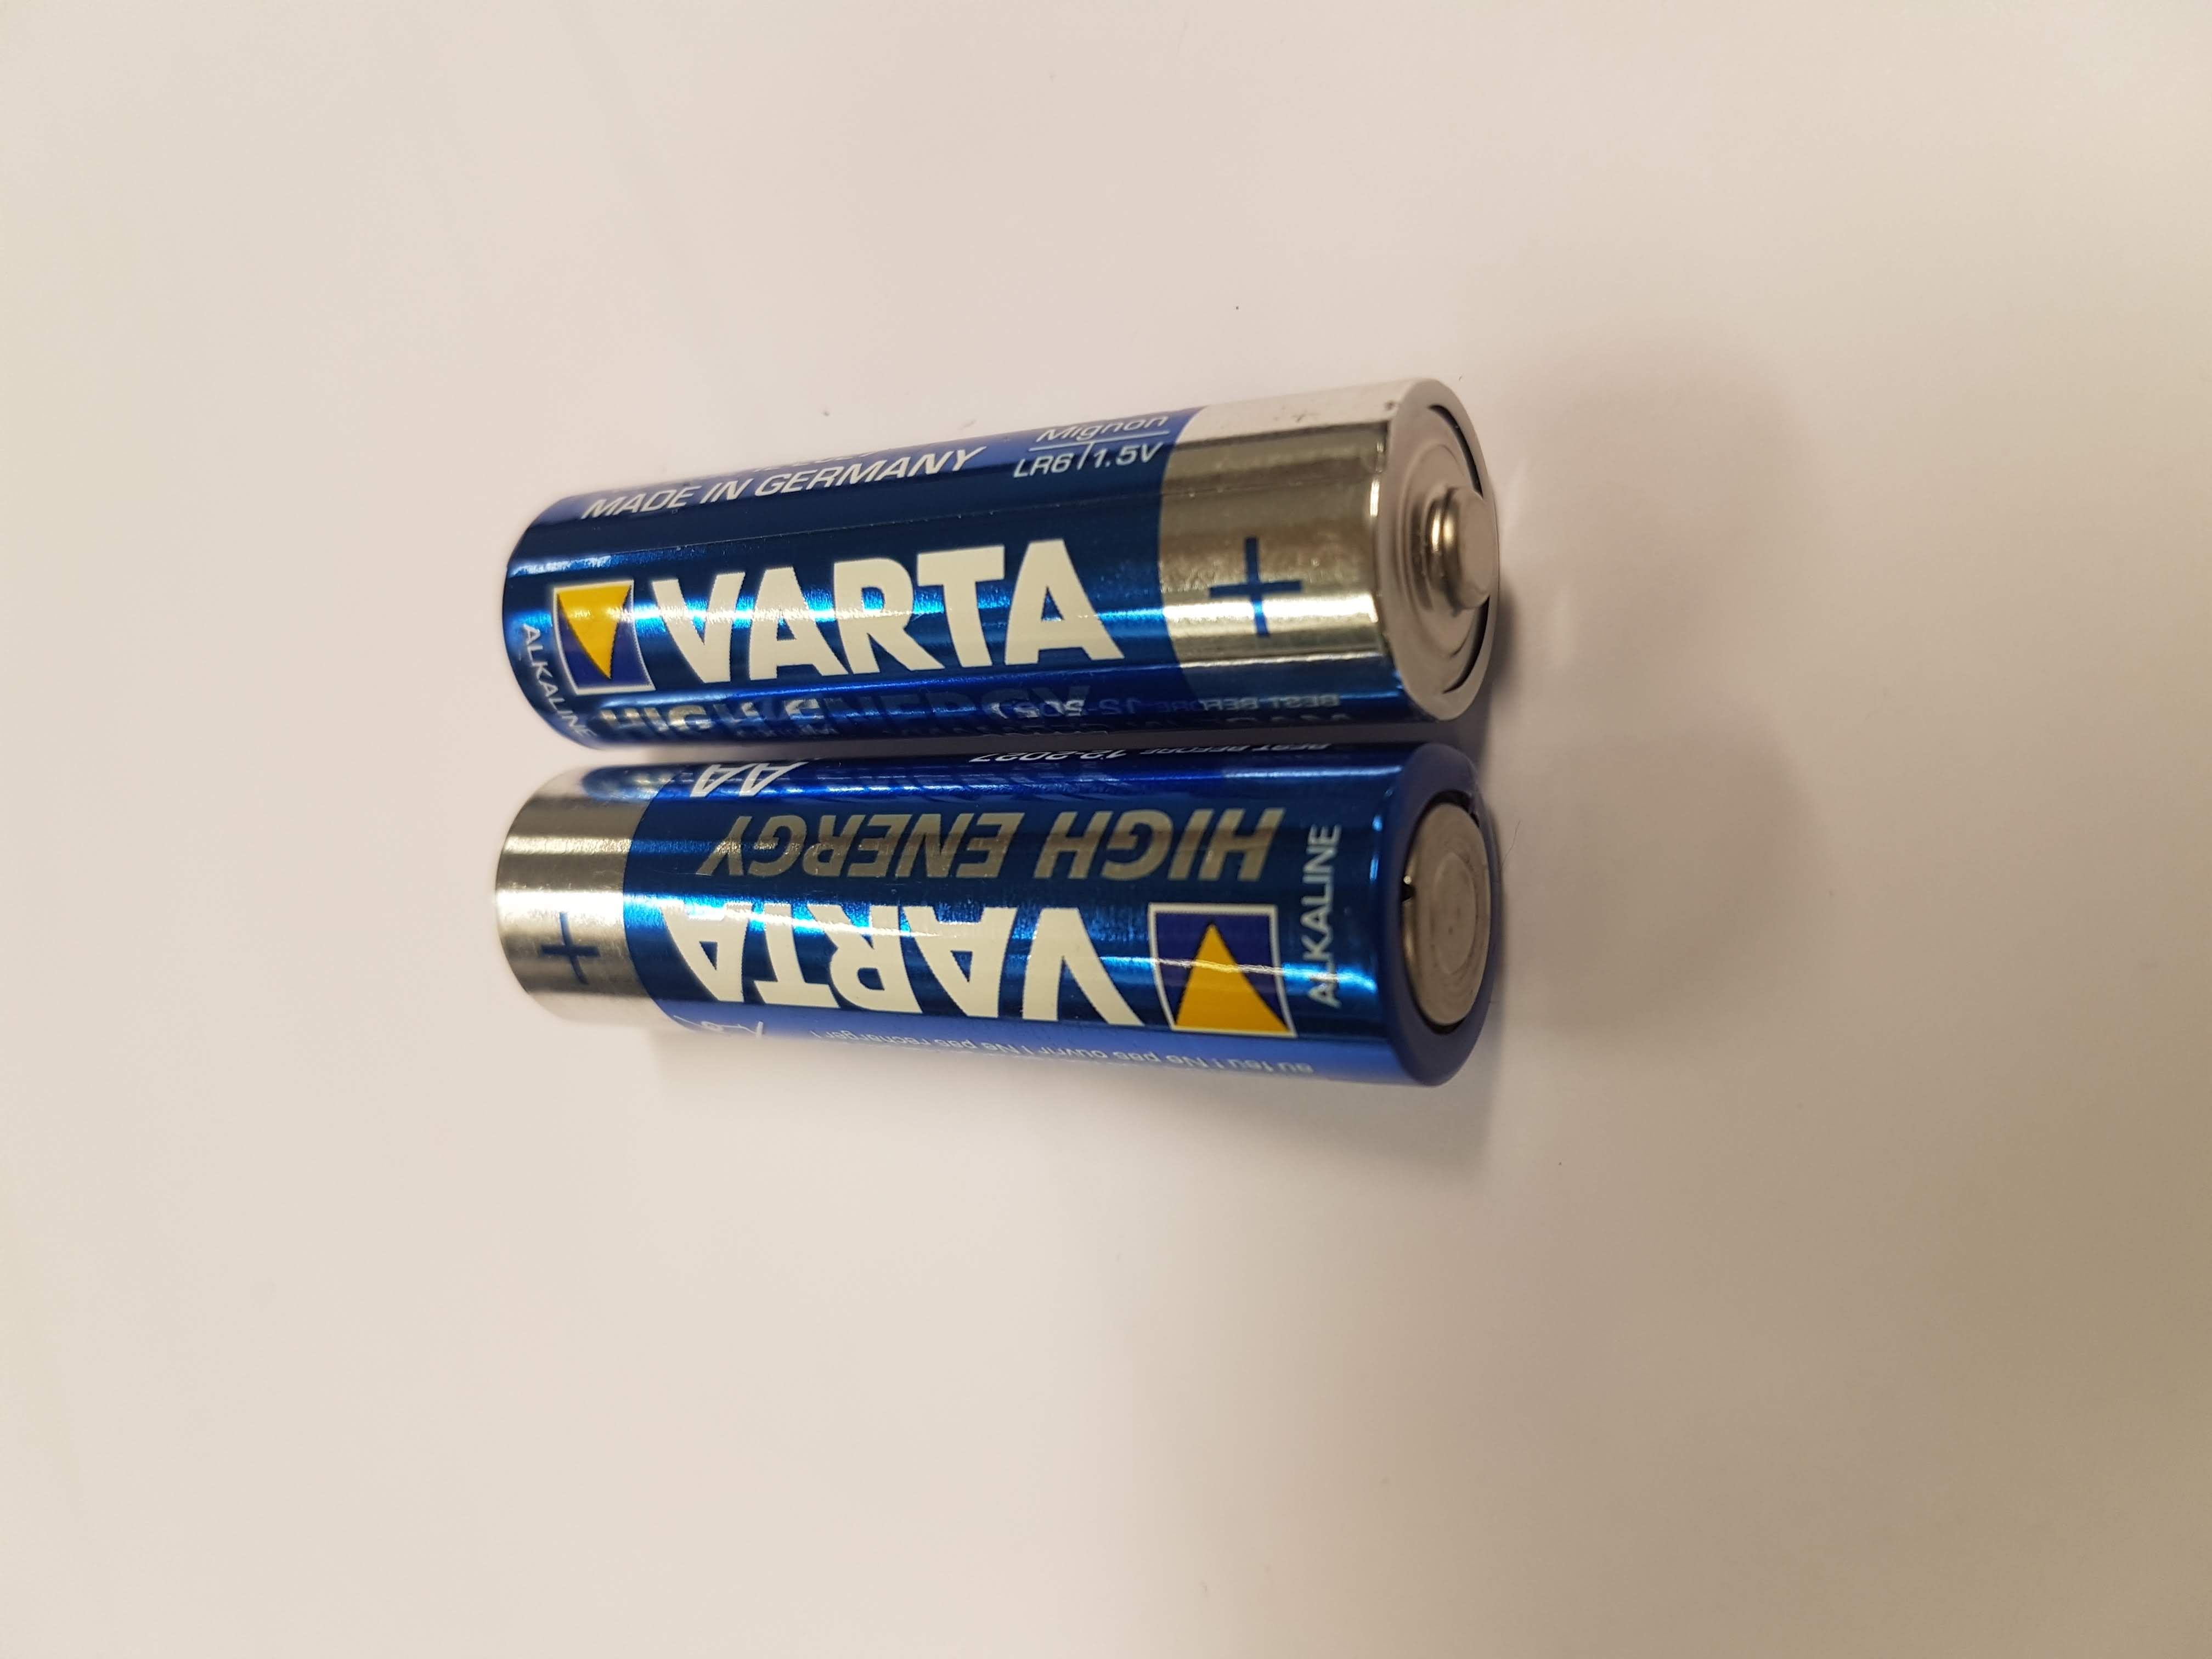
When voltage is getting low, the user interface will start blinking, indicating battery change. Standard AA-batteries are used.
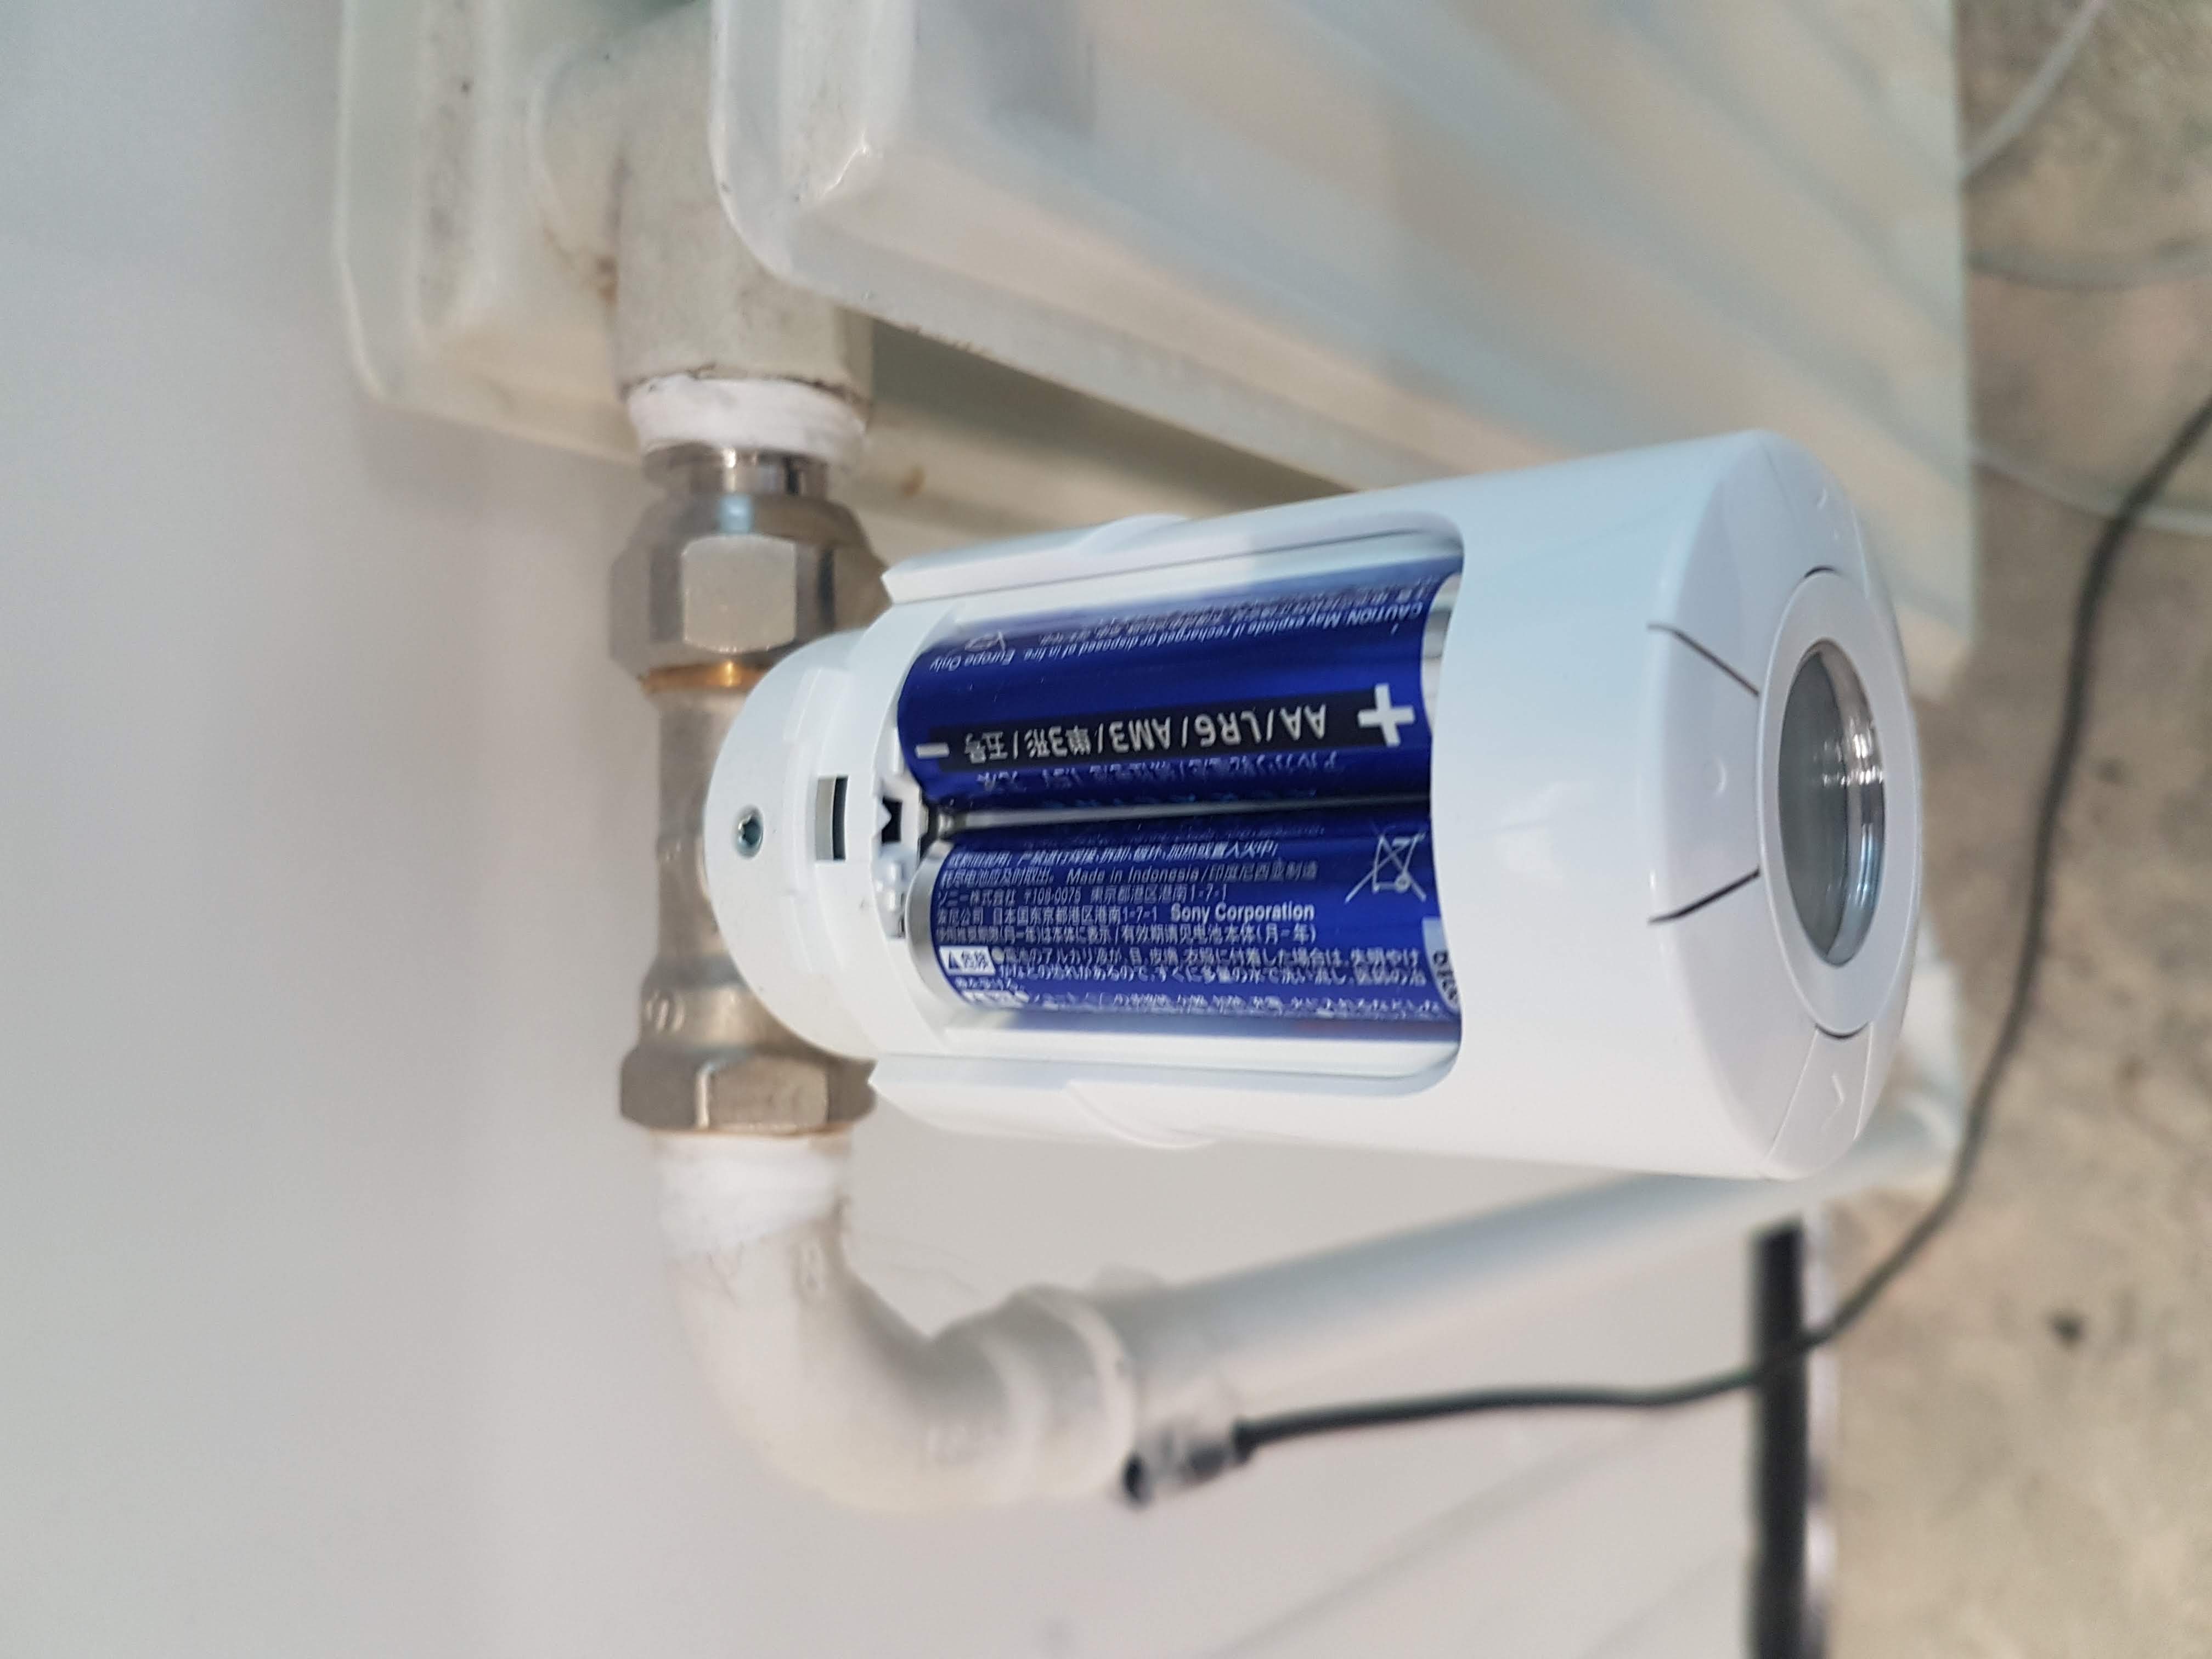
NOTE: When changing batteries, pay attention on correct battery direction in chamber.
If you press accidentally the Install button, you will see a M-figure. Wait for some time and thermostat will regain normal operation.
For full instructions, check our website: Manuals from manufacturers

Changing batteries
Turn thermostat carefully to have the battery chamber pointing upwards. Remove the battery chamber lid.
Remove old batteries and insert new ones. Note the battery direction (see pictures below).
Turn the thermostat in right direction.